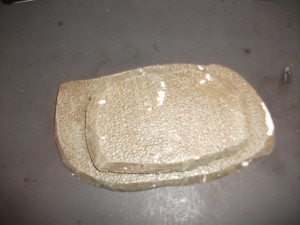
In his video I dress up the base for the Autumn trees piece of Gale Force 9’s battlefield terrain.
Swing Back next week for a couple of techniques to use on the trees.
Terrascaping 1 Detailing the Buried Monument From GF 9
Matt takes another look at the Buried monument from Gale Force 9 and adds more detail to this already beautiful model.
If you want to see this model in person it will be hitting the road this year.
How to Dress up the Buried monument from GF 9
In this video Matt shows a a simple technique to dress up your Buried Monument from Gale Force 9 by adding some sand and gravel to it’s base. If you have elmer’s white glue and some water all you need is the material you wish to use.
Next time will give the base the desired color to reflect our mood.
Terrain Tips GF9’s Fallen Monument
In this video Matt dresses up the Fallen Monument from GF9 with some simple dry brushing techniques. So watch as Matt works well brushes some more life into this already great model.
I will have a few more videos of this coming down the road in the near future.
Basic Basing – simple rocks
Today we are going to talk about building some “cracked Earth” desert Terrain. If you like modular terrain over building tables this is a very simple project that yields high results. If you want to you can even use this concept as a base for your whole table.
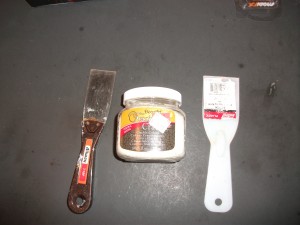
In order to do this project you will only need a few supplies. They are a putty knife, crackle texture paint, paint brush, water, brown paint and a can or a container for making a wash in.
HINT: More often than not people buy more crackle texture paint than they need. If you have a Restore (Habitat for Humnaity), or a thrift store near by you can find it cheap. We only paid fifty cents a bottle. The color doesn’t even matter because you are going to paint it.
The first step is to shape and contour your hills; which was already done for us.
We will start with step 2. Which is to spread the crackle paint on the terrain. This is really pretty simple, just smear it on. We have discovered the best thickness to be about a quarter of an inch. I suppose that it really depends on the amount of humidity in your work area though. By putting it on at about that thickness it gave us a nice amount of cracking. The pieces that had thinner layers seem to dry to quick and the cracks were much closer together.
 Copyright secured by Digiprove © 2012


